
Back to the index page
See the index page for other related projects.
Battery pack and switch box for Olympus T-28 macro flash unit
Introduction
Once you have your flash bracket made,
the next logical step of course is to start using it. One of the
first things you will probably run into is that it can be hard to focus due to
low light or because your lenses are slow. The Olympus T-28 twin flash
has modelling lights which are very useful under low light or when you are using
the old Zuiko lenses on the new E digital bodies. The
battery pack for them are hard to find however, and the
AC adapter is not very helpful in the field (and rather hard to find too).
So if you need to use the modelling lights, the simplest way is to make one
yourself. And while you are at it, why not make a switch box so you can
turn the lights on and off without using the rather inconvenient knobs on
the flash heads?
Please note
Before I go any further guess this is necessary: I can not be held
responsible for any injury caused to you or anyone trying to
follow my guidelines, or for any damage caused to your equipment. Also, all original
ideas in this design are mine, you are free to copy this or modify for your own
private use only - and if you find this helpful I would really love to
hear from you. Commercial reproduction based
on my original design is not permitted.
Finding the material
Almost all you need is available from
RadioShack (see list below)
The making
Pretty straight forward, simply soldering a few wires
together and knowing how to connect a LED without accidently frying it.
See the pictures below.
Material:
Switchbox:
project box (3x2x1"; RadioShack #270-1801)
2 x 5mm green LEDs (2.1V, 25mA, 6.3mcd;
RadioShack #276-022)
2 x 220 Ohm resistors for the LEDs (RadioShack #271-1111)
1 x 1/8" mono plug (male;
RadioShack #274-286)
2 x 1/8" mono plug (female;
RadioShack #274-333)
2 x slide switch (RadioShack #275-409)
machine screws and nuts for the slide switches (RadioShack
#64-3010 & #64-3017)
toggle switch (RadioShack #275-624)
Battery pack:
D battery holder (RadioShack #270-396)
2 x 1/8" mono plug (male;
RadioShack #274-286)
LowePro
SlipLock Pouch 10
(fits the battery pack perfectly)
Cables:
two stranded wire (hardware stores, I used about 9')
2 x coaxial power plugs (size "M";
RadioShack #274-1569)
3 x 1/8" mono plug (male;
RadioShack #274-286)
1 x 1/8" mono plug (female;
RadioShack #274-333)
Tools:
soldering iron, solder, something to make the holes in the project box,
screwdrivers and other common tools.
Other:
I am not sure what the whole thing did cost me. Lot of
this is not necessary, like the pouch or the connectors, you can simply solder
the wires to the switches.
|
|
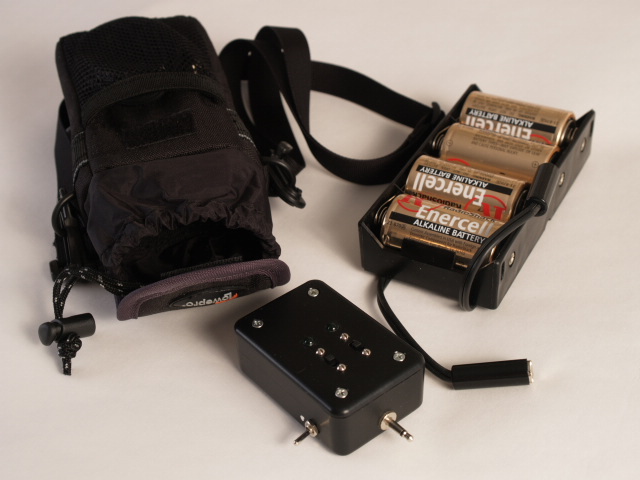
The battery pack, pouch and switch box. |
|
|
The swithch box has three switches. Two small slide switches on top which allow you to control if the modelling lights on one or both flash heads are used. The switch on the side is a "master" that cuts off the battery power to the slide switches. There are also two green LEDs showing you if the corresponding circuit is closed or open. |
|
|
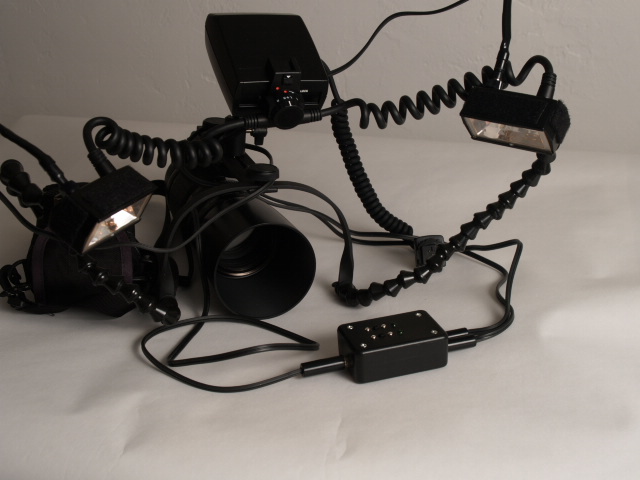
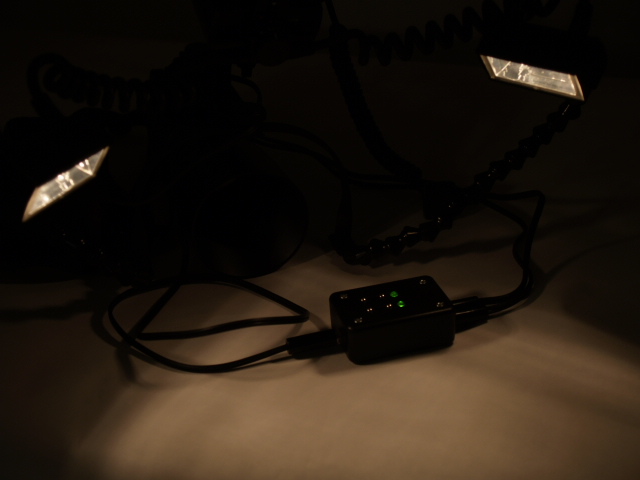
The whole thing in action - it works remarkably well. |
|
Back to the index page |